Posted on October 27, 2025
Marksmanship 101: How to Improve Your Shooting Skills
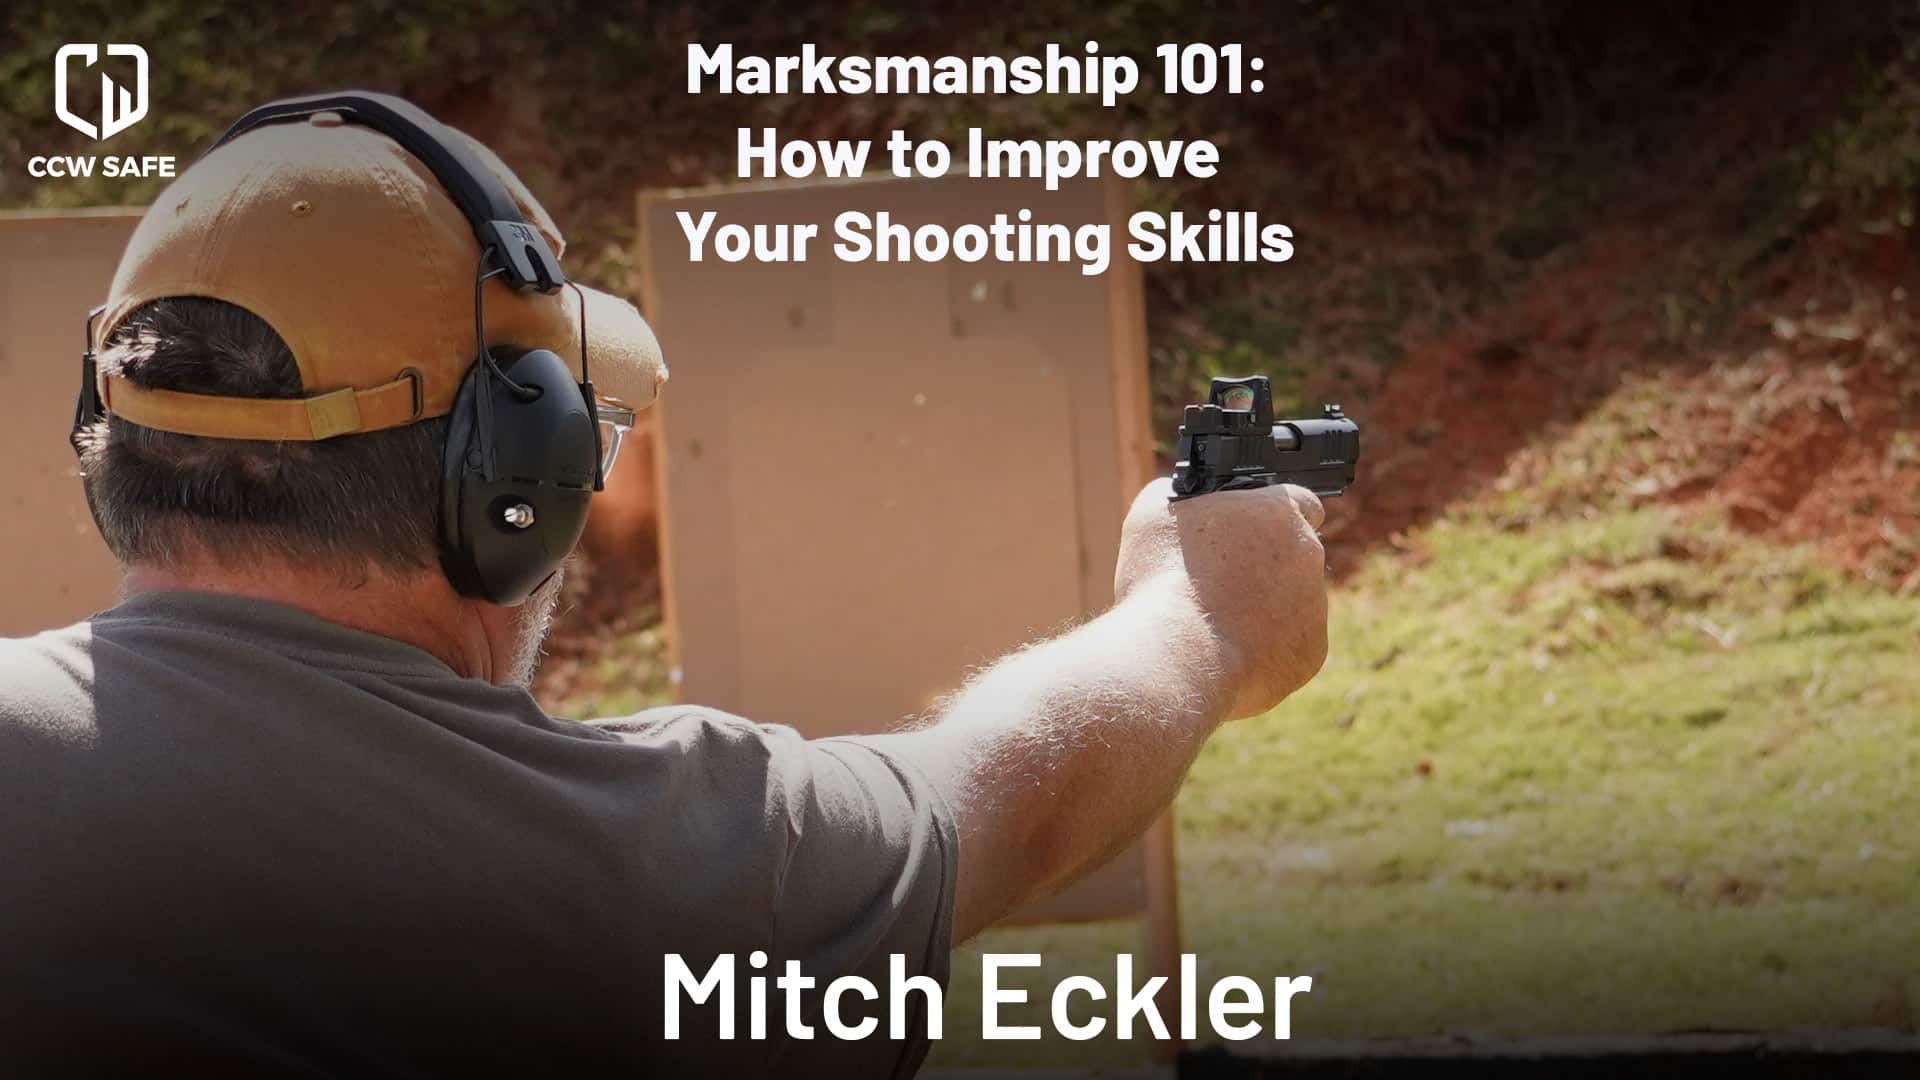
By: Mitch Eckler
Becoming a skilled shooter isn’t about luck, it’s about consistency, discipline and a commitment to refining your technique. While modern technology offers shortcuts like red dots and laser dry-fire systems, the fundamentals of marksmanship remain unchanged. Whether you’re looking to tighten your groups at the range, improve your recoil control or master iron sights, the key lies in structured, intentional practice.
This guide pulls together essential concepts from three key areas—building confidence, handling recoil and refining iron sight fundamentals—to give you a complete roadmap to becoming a better shooter.
Mastering Confidence Through Training
Confidence with a firearm isn’t something that happens overnight. It’s built through repetition, self-discipline and holding yourself accountable for every aspect of your training.
Mastering marksmanship isn’t just about hitting the target—it’s about developing the confidence to do so consistently. Like any skill, shooting proficiency takes time, practice and patience to refine. Training regularly helps build muscle memory, sharpen focus and improve control over breathing and trigger discipline. Progress may feel slow, but persistence is key. Small, steady improvements add up, and with each session, confidence grows. Whether you’re a beginner or looking to fine-tune your skills, embracing the learning process will make you a more precise and assured shooter.
Dry Fire Training: The Foundation of Skill
Dry-fire training is one of the most effective ways to build confidence and sharpen skills without wasting ammunition. But not all dry-fire training offers equal value. It’s easy to develop bad habits if you don’t track your progress.
- Film yourself: Reviewing footage helps identify subtle mistakes in grip, trigger discipline and draw technique.
- Set structured goals: Start by working on clearing your cover garment, then drawing smoothly, then pressing the trigger without disturbing your aim.
- Practice to perfection: Perform each step flawlessly before moving on to the next. If you make a mistake, reset and start again.
The Role of Shot Timers in Training
Many shooters hesitate to use a shot timer because they think they aren’t “fast enough” yet. However, a shot timer isn’t about being the quickest—it’s about measurable progress.
- Track improvement: Shot timers provide data on draw speed, split times and accuracy over time.
- Avoid rushing: Focus on smooth, controlled movements first. Speed naturally follows proper technique.
Live-Fire Training: Reinforcing Your Progress
Dry-fire builds the foundation, but live-fire training puts those skills to the test. Every round you fire should have a purpose—don’t just throw lead downrange. Instead, approach every shot with intent, focusing on specific techniques like recoil control, follow-through and target transitions.
Seeking professional instruction is a proven way to speed up your progress. Even experienced shooters can benefit from an outside perspective. A knowledgeable instructor can diagnose inefficiencies and refine your technique in ways that self-practice alone might not reveal.
Handling Recoil Like a Pro
Every firearm produces recoil, but skilled shooters seem to absorb it effortlessly. Mastering recoil control requires a combination of technique, physical conditioning and repetition.
Grip: Your First Line of Defense Against Recoil
Your grip is the foundation of recoil management. A weak or inconsistent grip will amplify muzzle rise and slow down your follow-up shots.
- High, firm grip: Position your dominant hand high on the backstrap with even pressure.
- Maximize contact: The support hand should wrap around fully, filling gaps and applying counterpressure.
Proper Stance and Body Positioning
Many new shooters instinctively lean back when firing to counteract recoil, but this actually works against them.
- Weight slightly forward: This absorbs force and prevents being pushed off balance.
- Feet shoulder-width apart: A balanced stance stabilizes your upper body.
- Keep head upright: Bring the gun to your eye level, rather than lowering your head.
Training for Recoil Control
To improve your ability to manage recoil, break your training into progressive steps:
- Start slow: Fire controlled, deliberate shots to reinforce good mechanics.
- Increase speed gradually: As grip and stance improve, introduce faster follow-up shots.
- Use a “Press-Out Drill”: Begin at low ready, press the gun toward the target, fire a single shot and return to ready position.
Iron Sights: The Forgotten Fundamentals
Red dots and optics are becoming increasingly popular, but iron sights remain the foundation of marksmanship. Whether as a primary sighting system or as a backup, mastering irons is essential.
Sight Alignment and Sight Picture
- Sight alignment: Keep the front sight post centered in the rear sight notch.
- Sight picture: Focus on the front sight, with the target slightly blurred.
- Avoid shifting focus: Train yourself to maintain front sight focus while aligning with the target.
Shooting with Both Eyes Open
While it may feel natural to close one eye when aiming, keeping both eyes open provides better spatial awareness and wider field-of-view.
- Improves peripheral vision: Essential for defensive shooting scenarios.
- Reduces eye fatigue: Constantly closing one eye can cause strain.
To transition into shooting with both eyes open, start with dry-fire drills. Focus on a single spot on a blank wall and bring your sights up naturally. Over time, your brain will adapt.
Drills to Master Iron Sights
- Wall Drill: Stand close to a blank wall and dry-fire while maintaining perfect sight alignment.
- Follow-Through Drill: After firing, hold the sights on target for a moment before resetting.
Putting It All Together: A Complete Training Plan
Now that we’ve covered confidence-building, recoil control and iron sights, here’s how to structure a well-rounded training session:
- Start with Dry-Fire (10-15 Minutes): Work on draw, grip and sight picture. Use video or a mirror to assess your form.
- Live-Fire Fundamentals (20 Minutes): Fire slow, deliberate shots to reinforce proper technique.
- Performance Tracking (10 Minutes): Use a shot timer to measure draw speed and split times while maintaining accuracy.
- End with a Challenge Drill: Set up a timed or accuracy-based drill to simulate real-world scenarios.
The Path to Proficiency
Becoming a skilled shooter isn’t about one magic technique—it’s about layering multiple disciplines. By building confidence, mastering recoil control and refining iron sights, you develop a complete skill set that serves you in any situation.
The best shooters in the world don’t train until they get it right—they train until they can’t get it wrong. Every draw, every trigger press and every follow-through should be done with intention.
If you commit to structured, purposeful training, you’ll see measurable improvements. So hit the range, hold yourself accountable and elevate your marksmanship to the next level.
Shoot Safe.
-Mitch Eckler
Find me on Instagram, X and YouTube by searching for Mitch Eckler Hang Fire TV.